
Table of Contents
- 1 Decluttering Your Kitchen: A Step-by-Step Guide
- 1.1 The Decluttering Process
- 1.1.1 Step 1: Assess the Situation
- 1.1.2 Step 2: Clear the Countertops
- 1.1.3 Step 3: Tackle the Cabinets
- 1.1.4 Step 4: Organize the Pantry
- 1.1.5 Step 5: Maximize Drawer Space
- 1.1.6 Step 6: Deal with Small Appliances
- 1.1.7 Step 7: Sort Through Dishes and Glassware
- 1.1.8 Step 8: Address the Refrigerator
- 1.1.9 Step 9: Tackle the Junk Drawer
- 1.1.10 Step 10: Maintain the Order
- 1.2 Wrapping Up
- 1.3 FAQ
- 1.1 The Decluttering Process
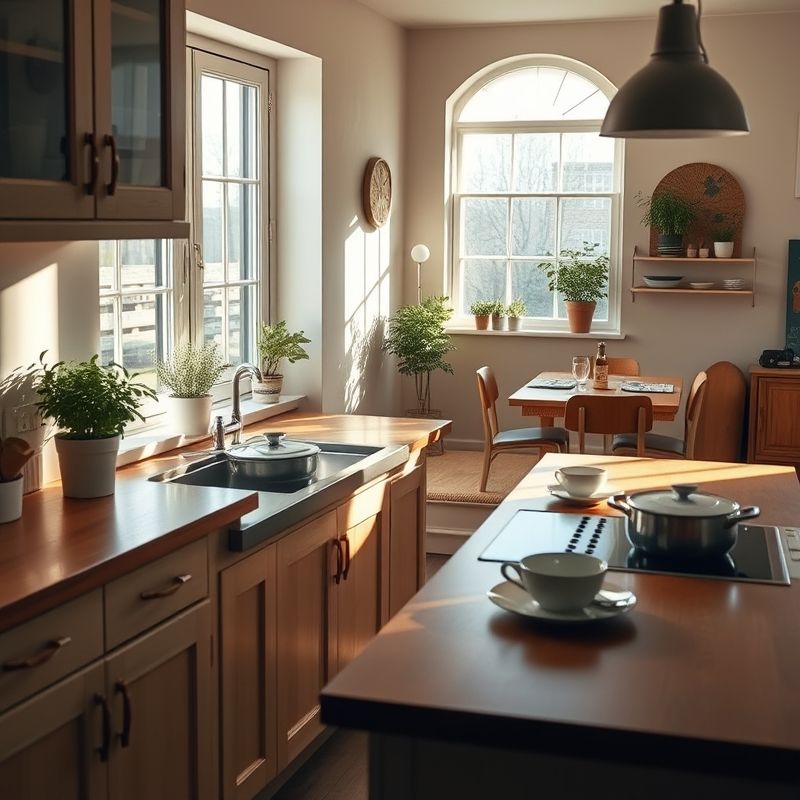
Decluttering Your Kitchen: A Step-by-Step Guide
Ever feel like your kitchen is a battleground of clutter? You’re not alone. Kitchens tend to accumulate stuff—from gadgets we rarely use to pantry items that have seen better days. But here’s the thing: a cluttered kitchen isn’t just an eyesore; it’s a productivity killer. So, let’s dive into decluttering your kitchen step-by-step. By the end of this, you’ll have a kitchen that’s not only organized but also a joy to cook in.
A few years back, when I moved from the Bay Area to Nashville, my kitchen was a mess. Boxes of stuff, duplicate gadgets, and a pantry that looked like a disaster zone. But with a bit of elbow grease and a systematic approach, I transformed it into a space that Luna, my rescue cat, and I actually enjoy spending time in. So, trust me, if I can do it, you can too.
In this guide, we’ll go through each step of the decluttering process. From sorting out your pantry to organizing your countertops, we’ll cover it all. Let’s get started!
The Decluttering Process
Step 1: Assess the Situation
Before you dive into the nitty-gritty of decluttering, take a good look around your kitchen. What areas are the most cluttered? Is it the countertops, the cabinets, or the pantry? Make a mental note or even jot down the problem areas. This will help you prioritize your efforts.
Step 2: Clear the Countertops
Countertops are the first thing you see when you walk into the kitchen, so let’s start here. Remove everything from the countertops. Yes, everything. This includes small appliances, decorative items, and any clutter that’s accumulated.
Once the countertops are clear, give them a good wipe down. Now, decide what actually needs to stay on the countertops. Aim for a minimalist approach here. Only keep items that you use daily, like a coffee maker or a toaster. Everything else should find a home in the cabinets or drawers.
Step 3: Tackle the Cabinets
Next, move on to the cabinets. Open each one and take out everything. This might seem like a daunting task, but it’s necessary to see what you’re working with. As you empty the cabinets, sort items into categories: pots and pans, baking sheets, dishes, etc.
Now, assess each category. Do you have duplicates? Are there items you never use? Be ruthless here. If you haven’t used something in the past year, chances are you don’t need it. Donate or sell items that are still in good condition.
Once you’ve pared down your belongings, organize them in a way that makes sense for your cooking habits. Frequently used items should be easily accessible, while less used items can be stored in harder-to-reach places.
Step 4: Organize the Pantry
The pantry is often a hotspot for clutter. Start by emptying it completely. Yes, this means taking out every can, box, and bag. As you do this, check expiration dates and toss anything that’s past its prime.
Sort the remaining items into categories: canned goods, pasta, snacks, etc. Use clear containers or baskets to keep similar items together. This not only looks neat but also makes it easier to see what you have.
Consider using a first-in, first-out (FIFO) system for your pantry. This means placing newer items behind older ones, so you use up the older stuff first. It’s a simple trick that helps reduce waste.
Step 5: Maximize Drawer Space
Drawers can quickly become a jumbled mess of utensils and gadgets. Start by emptying each drawer and sorting the contents into categories. Use drawer organizers to keep everything in its place.
For utensils, consider using a utensil organizer with compartments for different types of utensils. This makes it easy to find what you need without digging through a pile.
Step 6: Deal with Small Appliances
Small appliances like blenders, food processors, and slow cookers can take up a lot of space. Assess which appliances you use regularly and find a home for them in the cabinets. For appliances you use less frequently, consider storing them in a less accessible spot, like a high shelf or a separate storage area.
If you have appliances that you never use, it might be time to let them go. Donate or sell them to free up valuable space.
Step 7: Sort Through Dishes and Glassware
Dishes and glassware can accumulate quickly, especially if you have a habit of buying new sets without getting rid of the old ones. Start by taking out all your dishes and glassware. Sort them into categories: plates, bowls, glasses, etc.
Assess how many of each item you actually need. If you have more than you can use, consider donating the extras. Organize the remaining items in a way that makes sense for your kitchen layout. Stackable dishes can save a lot of space.
Step 8: Address the Refrigerator
The refrigerator is another area that can become cluttered quickly. Start by taking everything out and giving the shelves a good clean. As you put items back, sort them into categories: dairy, produce, condiments, etc.
Use clear containers or bins to keep similar items together. This makes it easier to see what you have and helps prevent food from getting lost in the back of the fridge.
Consider labeling shelves or bins to make it even easier to stay organized. A little bit of labeling can go a long way in keeping things tidy.
Step 9: Tackle the Junk Drawer
Every kitchen has a junk drawer—that catch-all space for random items. Start by emptying the drawer completely. Sort the contents into categories: office supplies, tools, etc.
Decide what actually needs to stay in the drawer and what can be moved to a more appropriate location. Use small organizers to keep the drawer tidy. Aim to have a designated spot for everything, so the drawer doesn’t become a black hole of clutter again.
Step 10: Maintain the Order
Decluttering your kitchen is one thing, but keeping it that way is another. Set aside time each week to do a quick tidy-up. Put items back in their designated spots and deal with any new clutter that’s accumulated.
Consider implementing a one-in, one-out rule. This means that for every new item you bring into the kitchen, you get rid of an old one. It’s a simple way to prevent clutter from building up again.
Wrapping Up
Decluttering your kitchen is a journey, but it’s one that’s well worth the effort. A tidy kitchen not only looks better but also makes cooking and meal prep a lot more enjoyable.
So, here’s your challenge: pick one area of your kitchen to start with today. Whether it’s the countertops, the cabinets, or the pantry, take that first step. You might be surprised at how much of a difference it makes.
FAQ
Q: How often should I declutter my kitchen?
A: It depends on how quickly clutter accumulates in your kitchen. Aim for a deep declutter every 6-12 months, with smaller tidy-ups in between.
Q: What should I do with items I no longer need?
A: Consider donating, selling, or recycling items that are still in good condition. This not only helps declutter your kitchen but also gives those items a new life.
Q: How can I stay motivated to keep my kitchen decluttered?
A: Set aside a specific time each week for a quick tidy-up. Make it a habit, and it will become easier to maintain over time.
Q: What if I don’t have enough storage space?
A: Get creative with storage solutions. Use wall-mounted shelves, under-cabinet organizers, or even repurpose other areas of your home for kitchen storage.
@article{decluttering-your-kitchen-a-step-by-step-guide,
    title   = {Decluttering Your Kitchen: A Step-by-Step Guide},
    author  = {Chef's icon},
    year    = {2025},
    journal = {Chef's Icon},
    url     = {https://chefsicon.com/decluttering-your-kitchen-step-by-step/}
} 

