
Table of Contents
The Ultimate Guide to Homemade Herb-Infused Oils
Ever wondered how to elevate your cooking with a burst of flavor that’s both subtle and profound? Welcome to the world of homemade herb-infused oils. I’m Sammy, your guide through this culinary adventure. Living in Nashville with my rescue cat Luna, I’ve fallen in love with the city’s vibrant food scene. Today, we’re diving deep into the art of infusing oils with herbs, a technique that’s not only delightful but also incredibly versatile.
When I first moved from the Bay Area, I was blown away by the creative use of herbs in Nashville’s kitchens. It inspired me to experiment with herb-infused oils at home. Whether you’re a seasoned chef or a curious beginner, this guide will walk you through the process, from selecting the right herbs to storing your infused oils. Let’s get started!
Understanding Herb-Infused Oils
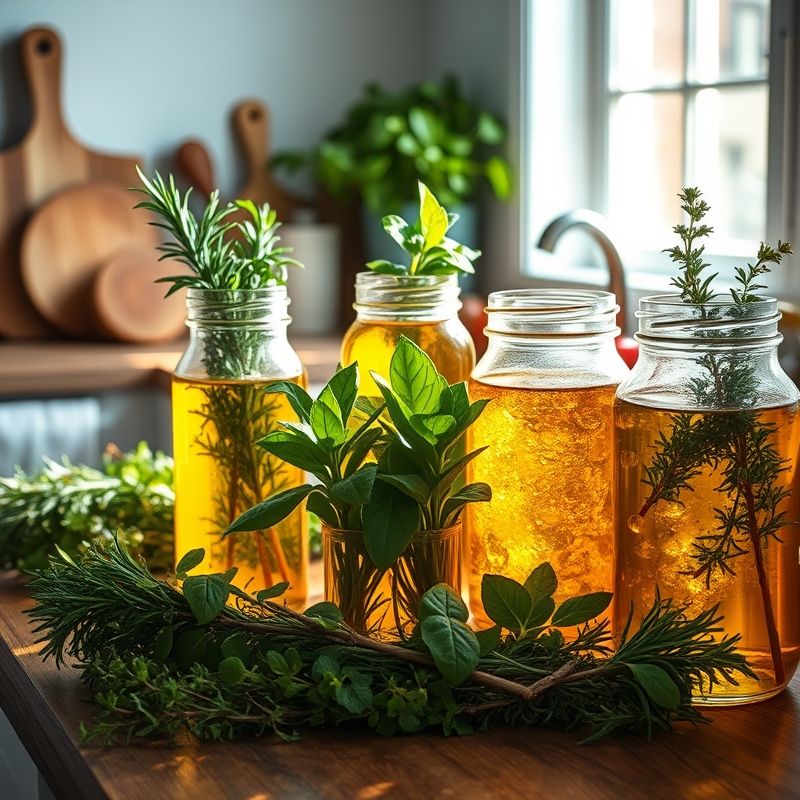
Herb-infused oils are exactly what they sound like: oils that have been infused with the flavors of various herbs. This process can transform a simple olive oil into a flavor powerhouse, perfect for drizzling over salads, bread, or even using in cooking.
But why bother making your own? Well, for starters, it’s a fantastic way to customize your flavors. You can choose your favorite herbs, experiment with different combinations, and create something truly unique. Plus, it’s a great way to use up any extra herbs you might have lying around.
The Science Behind Infusion
The process of infusing oil with herbs is actually quite simple. The herbs release their flavors into the oil, creating a delicate, aromatic blend. The key is to use fresh, high-quality herbs and a good-quality oil. The better your ingredients, the better your infused oil will be.
Choosing the Right Herbs
When it comes to choosing herbs for your infused oils, the sky’s the limit. Some popular choices include rosemary, thyme, basil, and oregano. But don’t be afraid to get creative! Experiment with less common herbs like lavender or lemongrass for a unique twist.
I’m torn between recommending classic combinations or encouraging wild experimentation. But ultimately, I think the best approach is to start with what you know and love, then branch out from there. Maybe I should clarify, though—there’s no wrong answer here. It’s all about what tastes good to you.
Selecting the Perfect Oil
The type of oil you choose can also have a big impact on the final flavor. Olive oil is a classic choice, but you could also use avocado oil, grapeseed oil, or even coconut oil for different effects. Each oil has its own flavor profile, so consider how it will complement your chosen herbs.
Is this the best approach? Let’s consider the versatility of olive oil. It’s a staple in many kitchens and has a mild flavor that pairs well with a variety of herbs. However, if you’re looking for something with a higher smoke point for cooking, avocado oil might be a better choice.
Preparing Your Herbs
Before you start infusing, you’ll need to prepare your herbs. This usually involves washing and drying them to remove any dirt or debris. You can also chop them finely to release more flavor, but this is optional.
One thing to keep in mind is that fresh herbs will give you a more intense flavor than dried herbs. However, dried herbs can still be used and are a good option if fresh herbs aren’t available.
Washing and Drying
Washing your herbs is crucial to remove any dirt or pesticides. Simply rinse them under cold water and pat them dry with a clean towel. Make sure they’re completely dry before using them to prevent any moisture from getting into your oil, which can lead to spoilage.
Chopping vs. Whole
Chopping your herbs can help release more of their flavors, but it’s not always necessary. For more delicate herbs like basil or parsley, you might want to leave them whole to prevent bruising. For heartier herbs like rosemary or thyme, a rough chop can help maximize flavor.
The Infusion Process
Now that your herbs are prepped, it’s time to start the infusion process. There are a couple of methods you can use, each with its own advantages.
Cold Infusion
Cold infusion is the simplest method and involves letting the herbs steep in the oil at room temperature. This method is great for preserving the freshness of the herbs, but it does take a bit longer.
- Place your prepared herbs in a clean, dry jar.
- Pour the oil over the herbs, making sure they’re completely submerged.
- Seal the jar tightly and let it sit in a cool, dark place for about 1-2 weeks.
- Give the jar a gentle shake every few days to help distribute the flavors.
Hot Infusion
Hot infusion is a quicker method that involves heating the oil and herbs together. This can help release the flavors more quickly, but it also runs the risk of cooking the herbs and altering their flavor.
- Heat the oil in a saucepan over low heat until it’s warm but not hot.
- Add the herbs and let them steep in the oil for about 1-2 hours.
- Remove from heat and let the oil cool completely before straining.
I’m still on the fence about which method is better. Cold infusion preserves the freshness of the herbs, but hot infusion is much quicker. Maybe it depends on what you’re looking for in your infused oil.
Straining and Storing
Once your oil has infused, it’s time to strain out the herbs and store your oil. This step is crucial to prevent the herbs from continuing to infuse and potentially spoiling the oil.
Straining
To strain your oil, you’ll need a fine-mesh sieve or cheesecloth. Simply pour the oil through the sieve into a clean jar, discarding the herbs. Make sure to get as much of the oil out as possible—you don’t want to waste any of that delicious flavor!
Storing
Store your infused oil in a cool, dark place. A pantry or cupboard is ideal. You can also store it in the refrigerator if you prefer, but this can cause the oil to solidify, making it harder to use.
Herb-infused oils can last for several months if stored properly. However, always keep an eye out for signs of spoilage, such as a strange odor or discoloration. When in doubt, it’s better to be safe and discard the oil.
Using Your Herb-Infused Oils
Now that you’ve made your herb-infused oil, it’s time to put it to use! There are countless ways to incorporate infused oils into your cooking, from salad dressings to marinades to finishing touches.
Salad Dressings
Infused oils make a fantastic base for salad dressings. Simply whisk together your infused oil with some vinegar, a pinch of salt, and maybe a touch of honey or mustard for added flavor. Drizzle over your favorite greens for a gourmet touch.
Marinades
Herb-infused oils can also be used in marinades for meats, fish, or vegetables. The infused flavors can penetrate deeply, adding a rich, complex layer to your dishes. Experiment with different combinations to find what you like best.
Finishing Touches
Sometimes, a dish just needs that little something extra to take it from good to great. A drizzle of herb-infused oil can be the perfect finishing touch, adding a burst of flavor and a touch of elegance. Try it on grilled meats, roasted vegetables, or even pasta.
Troubleshooting Common Issues
Even with the best intentions, things can go wrong. Here are some common issues you might encounter when making herb-infused oils, and how to fix them.
Bitterness
If your infused oil turns out bitter, it’s likely because the herbs were left in the oil for too long. To fix this, try straining the oil earlier next time. You can also dilute the bitter oil with some fresh oil to balance out the flavors.
Lack of Flavor
On the other hand, if your oil lacks flavor, it might be because you didn’t use enough herbs or didn’t let them infuse for long enough. Try increasing the amount of herbs or letting them steep for a longer period next time.
Spoilage
Spoilage can occur if moisture gets into the oil or if the oil is stored improperly. Always make sure your herbs are completely dry before infusing, and store the oil in a cool, dark place. If you notice any signs of spoilage, discard the oil immediately.
Experimenting with Flavors
One of the best things about making your own herb-infused oils is the opportunity to experiment with different flavors. Don’t be afraid to get creative and try out new combinations. You never know what delicious discovery you might make!
Maybe I should clarify—there’s no right or wrong way to do this. It’s all about what tastes good to you. So go ahead, play around with different herbs, oils, and infusion methods. The possibilities are endless.
Embracing the Culinary Adventure
Making your own herb-infused oils is more than just a kitchen project—it’s a culinary adventure. It’s a chance to explore new flavors, experiment with different techniques, and create something truly unique. So why not give it a try? You might just discover a new favorite ingredient.
I challenge you to step out of your comfort zone and try making your own herb-infused oils. Who knows what delicious creations you’ll come up with? And remember, there’s no wrong way to do this. It’s all about what tastes good to you.
FAQ
Q: How long do herb-infused oils last?
A: Herb-infused oils can last for several months if stored properly in a cool, dark place. However, always keep an eye out for signs of spoilage, such as a strange odor or discoloration.
Q: Can I use dried herbs for infusing oil?
A: Yes, you can use dried herbs, but fresh herbs will give you a more intense flavor. If using dried herbs, you may need to use more to achieve the same level of flavor.
Q: Is it safe to infuse oil with garlic?
A: Infusing oil with garlic can be risky due to the potential for botulism. If you want to infuse oil with garlic, it’s best to store it in the refrigerator and use it within a week.
Q: Can I reuse the herbs after infusing?
A: It’s not recommended to reuse the herbs after infusing, as they will have lost most of their flavor and may introduce moisture into your oil, leading to spoilage.
@article{the-ultimate-guide-to-homemade-herb-infused-oils,
    title   = {The Ultimate Guide to Homemade Herb-Infused Oils},
    author  = {Chef's icon},
    year    = {2025},
    journal = {Chef's Icon},
    url     = {https://chefsicon.com/homemade-herb-infused-oils-guide/}
} 