The Best Fluffy Pancakes recipe you will fall in love with. Full of tips and tricks to help you make the best pancakes.
Table of Contents
- 1 Main Content
- 1.1 The Science Behind Frying Green Beans
- 1.2 Choosing the Right Commercial Fryer
- 1.3 Preparing Green Beans for Frying
- 1.4 The Frying Process
- 1.5 Seasoning and Serving
- 1.6 Safety Tips for Using Commercial Fryers
- 1.7 Maintenance and Cleaning
- 1.8 Troubleshooting Common Issues
- 1.9 Alternative Cooking Methods
- 1.10 Creative Variations
- 2 Closing Content
- 3 FAQ
You know, I never thought I’d be writing about green beans and commercial fryers. It’s one of those combinations that makes you pause, like pineapple on pizza or ketchup on hot dogs. But here we are, and I’m actually excited about it. There’s something magical about taking a humble green bean and transforming it into a crispy, flavorful delight using a commercial fryer. It’s not just about cooking; it’s about elevating a simple ingredient to something extraordinary.
I remember the first time I tried fried green beans at a local Nashville joint. I was skeptical, to say the least. But that first bite, crunchy on the outside, tender on the inside, with just the right amount of seasoning, changed my perspective. It’s not just a side dish; it’s an experience. And that’s what we’re diving into today: how to achieve that perfect fried green bean using commercial fryers.
In this article, we’ll explore everything from choosing the right commercial fryer to mastering the technique of frying green beans. We’ll talk about the science behind the perfect fry, the best oils to use, and even some creative seasoning ideas. Whether you’re a restaurant owner looking to add a unique side to your menu or a home cook wanting to impress your friends, this guide is for you. So, let’s get started on this journey to green bean perfection.
Main Content
The Science Behind Frying Green Beans
Frying might seem straightforward, but there’s actually a lot of science involved. When you drop a green bean into hot oil, several things happen simultaneously. The water inside the bean starts to evaporate, creating steam that helps cook the bean from the inside out. Meanwhile, the outer layer begins to crisp up, forming that delightful crunch we all love.
The key here is temperature control. If the oil isn’t hot enough, the green beans will absorb too much oil and become greasy. If it’s too hot, the outside will burn before the inside is cooked. Most commercial fryers have precise temperature controls, which is why they’re ideal for this task. You’re looking for a temperature range between 350°F and 375°F (175°C and 190°C) for optimal results.
But it’s not just about the temperature. The type of oil you use also plays a significant role. Oils with high smoke points, like peanut oil or canola oil, are excellent choices. They can handle the high heat without breaking down or imparting unwanted flavors. And let’s not forget about the green beans themselves. Fresh, firm beans work best. If they’re too limp or old, they won’t hold up well to the frying process.
Choosing the Right Commercial Fryer
Not all commercial fryers are created equal. There are several types to consider, each with its own set of advantages and disadvantages. The most common types are electric, gas, and countertop fryers. Electric fryers are great for their precise temperature control and ease of use. Gas fryers, on the other hand, heat up faster and can reach higher temperatures, but they require a gas line and proper ventilation.
Countertop fryers are more compact and portable, making them ideal for smaller kitchens or food trucks. But if you’re running a busy restaurant, you might want to invest in a larger, floor-model fryer. These can handle higher volumes and often come with features like automatic oil filtration and multiple baskets for frying different items simultaneously.
When choosing a fryer, consider your specific needs. How much volume do you need to handle? What’s your budget? Do you have the necessary space and ventilation? These are all critical questions to ask. And don’t forget about maintenance. A good commercial fryer should be easy to clean and maintain, with features like removable oil tanks and accessible heating elements.
Preparing Green Beans for Frying
Before you even think about firing up the fryer, you need to prepare your green beans properly. Start by washing them thoroughly under cold water to remove any dirt or debris. Then, trim the ends. This is a step you don’t want to skip, as the ends can be tough and chewy, even after frying.
Next, you’ll want to blanch the green beans. This involves boiling them briefly and then shocking them in ice water. Blanching helps to set the color and partially cook the beans, ensuring they’re tender on the inside after frying. It’s a crucial step that many people overlook, but it makes a significant difference in the final product.
After blanching, pat the green beans dry with a clean towel. Any excess moisture will cause the oil to splatter and can lead to uneven cooking. If you’re feeling adventurous, this is also the stage where you can add a light dusting of flour or cornstarch to the beans. This will help create a crispier coating, but it’s entirely optional.
The Frying Process
Now comes the main event: frying the green beans. Start by heating your oil to the desired temperature. As mentioned earlier, 350°F to 375°F is the sweet spot. Use a deep-fry thermometer to ensure accuracy, especially if your fryer doesn’t have a built-in temperature gauge.
Once the oil is hot, carefully lower the green beans into the basket. Don’t overcrowd the basket, as this can cause the temperature to drop and lead to uneven cooking. Fry the beans in small batches, giving them enough space to move around freely.
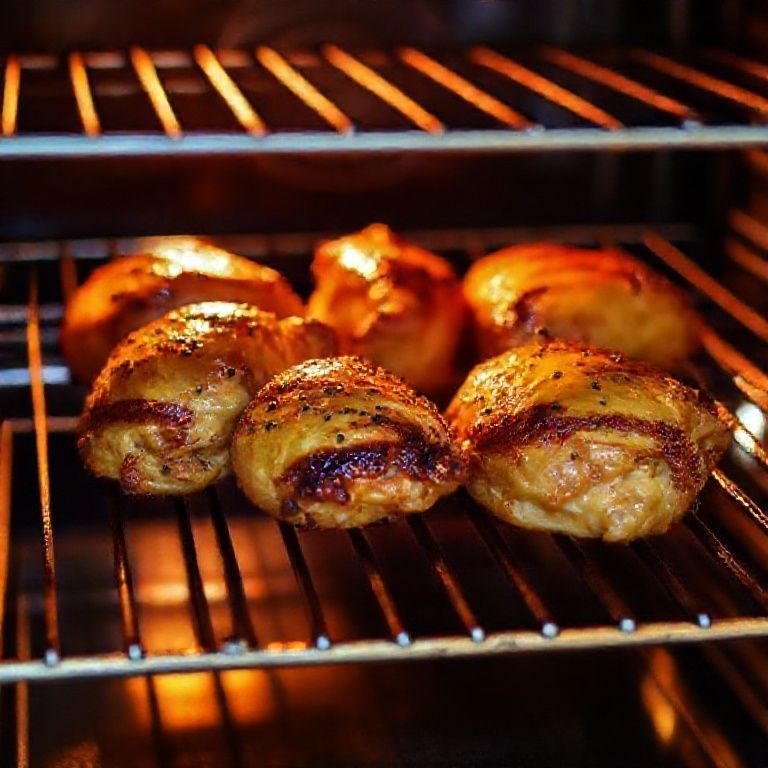
The frying time will vary depending on the thickness of the beans and the temperature of the oil, but generally, you’re looking at about 2 to 3 minutes. Keep an eye on them and listen for the sound. When the sizzling starts to subside, it’s usually a good indication that they’re almost done. You want the beans to be golden brown and crispy.
Seasoning and Serving
Once the green beans are fried to perfection, it’s time to season them. This is where you can get creative. A simple sprinkle of salt is a classic choice, but why stop there? Consider a blend of garlic powder, paprika, and a touch of cayenne for a spicy kick. Or maybe a dusting of Parmesan cheese and black pepper for a more savory profile.
Toss the fried green beans in the seasoning while they’re still hot. This helps the seasoning stick better and ensures every bite is flavorful. Serve them immediately, as they’re best enjoyed fresh and hot. Pair them with a dipping sauce like ranch, aioli, or even a sweet chili sauce for an extra layer of flavor.
Presentation is key, too. Arrange them on a platter with a sprinkle of fresh herbs like parsley or chives for a pop of color. Or serve them in a wire basket lined with parchment paper for a casual, diner-style feel. The possibilities are endless, and it’s a chance to let your creativity shine.
Safety Tips for Using Commercial Fryers
Working with hot oil can be dangerous, so safety should always be a top priority. First and foremost, never leave the fryer unattended while it’s in use. Oil can heat up quickly and pose a fire risk if left unchecked. Always have a fire extinguisher rated for grease fires nearby, just in case.
When adding food to the fryer, do it slowly and carefully to avoid splashing. Use long-handled tools to lower the basket into the oil and to remove it. This will help keep your hands and arms at a safe distance from the hot oil. And always, always wear appropriate clothing. Avoid loose sleeves or anything that could potentially come into contact with the oil.
After you’re done frying, let the oil cool completely before attempting to move or dispose of it. Hot oil can cause severe burns, so it’s not something to rush. Once cooled, you can strain the oil to remove any food particles and store it in a sealed container for future use. Just be sure to label it clearly and keep it in a cool, dark place.
Maintenance and Cleaning
Proper maintenance and cleaning are essential for keeping your commercial fryer in top condition. After each use, allow the fryer to cool slightly, then drain the oil and wipe down the interior with a clean cloth. This will help remove any food particles or residue that could potentially burn and affect the flavor of future batches.
For a deeper clean, you’ll want to disassemble the fryer according to the manufacturer’s instructions. Most commercial fryers have removable heating elements and baskets that can be soaked and scrubbed. Use a degreasing agent to break down any stubborn grease or oil buildup. Just be sure to rinse everything thoroughly to avoid any chemical contamination.
Regular maintenance also includes checking the fryer’s components for wear and tear. Inspect the heating elements, thermostat, and any seals or gaskets. Replace any parts that show signs of damage to ensure the fryer continues to operate safely and efficiently. And don’t forget to keep a maintenance log. This will help you track when the fryer was last serviced and what work was done.
Troubleshooting Common Issues
Even with the best equipment and techniques, issues can arise. One common problem is uneven cooking. This can be caused by several factors, including overcrowding the basket, incorrect oil temperature, or unevenly cut green beans. To fix this, try frying smaller batches, adjusting the temperature, or taking more care with your prep work.
Another issue is greasy green beans. This is usually a sign that the oil temperature was too low. When the oil isn’t hot enough, the food absorbs more oil, leading to a greasy texture. Make sure your oil is at the correct temperature before adding the green beans, and consider using a thermometer to double-check.
If your green beans are turning out too dark or burnt, the oil might be too hot. High temperatures can cause the outside to cook too quickly, leading to a burnt exterior and undercooked interior. Try lowering the temperature slightly and keeping a close eye on the frying time. It’s all about finding that perfect balance.
Alternative Cooking Methods
While commercial fryers are fantastic for achieving that perfect crispy texture, they’re not the only option. If you don’t have access to a commercial fryer, you can still make delicious fried green beans using alternative methods. One popular choice is the air fryer. It uses hot air to circulate around the food, creating a similar crispy texture with less oil.
Another option is oven frying. Toss the green beans in a bit of oil and your chosen seasonings, then spread them out on a baking sheet. Roast them in a preheated oven at around 425°F (220°C) until they’re golden and crispy. It’s not exactly the same as deep frying, but it’s a healthier alternative that still delivers great results.
And let’s not forget about pan frying. Heat a bit of oil in a skillet over medium-high heat, then add the green beans in a single layer. Cook them, turning occasionally, until they’re crispy and golden brown. This method gives you more control over the cooking process and allows you to add other ingredients like garlic or onions for extra flavor.
Creative Variations
Once you’ve mastered the basic fried green bean, why not get creative with some variations? One fun twist is to batter the green beans before frying. A light tempura batter can add an extra layer of crunch and a slightly different texture. Just be sure to let any excess batter drip off before frying to avoid clumps.
Another idea is to add other vegetables to the mix. Try tossing in some sliced bell peppers, onions, or even thinly sliced sweet potatoes. The combination of flavors and textures can be truly delightful. Just keep in mind that different vegetables have different cooking times, so you might need to adjust accordingly.
For a more indulgent treat, consider making green bean fries. Cut the beans lengthwise into thin strips, then fry them until crispy. Serve them with a side of cheese sauce or a spicy mayo for dipping. It’s a fun and unexpected take on a classic side dish that’s sure to impress.
Closing Content
As we wrap up this journey into the world of fried green beans, I hope you’re feeling inspired to give it a try. It’s one of those dishes that’s simple in concept but can be elevated to something truly special with the right techniques and a bit of creativity. Whether you’re using a commercial fryer or an alternative method, the key is to experiment and find what works best for you.
Remember, cooking is as much about the process as it is about the final product. Don’t be afraid to make mistakes or try new things. Some of the best dishes come from happy accidents or unexpected twists. So, fire up that fryer, grab some fresh green beans, and let your culinary creativity shine. Who knows? You might just create the next big thing in side dishes.
FAQ
Q: What is the best oil for frying green beans?
A: Oils with high smoke points, like peanut oil or canola oil, are excellent choices for frying green beans. They can handle the high heat without breaking down or imparting unwanted flavors.
Q: How do I know when the green beans are done frying?
A: The green beans are usually done when they turn golden brown and the sizzling sound starts to subside. This typically takes about 2 to 3 minutes, but keep an eye on them to avoid overcooking.
Q: Can I reuse the oil after frying green beans?
A: Yes, you can reuse the oil after frying green beans. Just make sure to strain it to remove any food particles and store it in a sealed container in a cool, dark place. Be sure to label it clearly for future use.
Q: What are some creative seasoning ideas for fried green beans?
A: Some creative seasoning ideas include a blend of garlic powder, paprika, and cayenne for a spicy kick, or a dusting of Parmesan cheese and black pepper for a savory profile. You can also try tossing them in a sweet and spicy glaze for a unique twist.
@article{achieving-green-bean-perfection-with-commercial-fryers-a-comprehensive-guide,
    title   = {Achieving Green Bean Perfection with Commercial Fryers: A Comprehensive Guide},
    author  = {Chef's icon},
    year    = {2025},
    journal = {Chef's Icon},
    url     = {https://chefsicon.com/commercial-fryers-green-bean-perfection/}
}