The Best Fluffy Pancakes recipe you will fall in love with. Full of tips and tricks to help you make the best pancakes.
Table of Contents
Ever felt like your commercial kitchen is a tiny, cramped space that’s more frustrating than functional? You’re not alone. As someone who’s navigated the chaotic dance of a bustling kitchen, I know that every inch counts. Whether you’re running a food truck, a small café, or a trendy bistro, making the most of your limited space is crucial. So, let’s dive into some practical strategies to transform your small commercial kitchen into an efficient, well-oiled machine.
A few years back, when I first moved to Nashville, I was blown away by the city’s vibrant food scene. But I also noticed that many kitchens were struggling with space issues. It got me thinking, how can we make these spaces work better? After plenty of trial and error (and a few minor disasters), I’ve gathered some insights that I think will help you out.
In this article, we’ll explore everything from layout and storage solutions to equipment choices and workflow optimization. By the end, you’ll have a clear roadmap to maximize your small commercial kitchen space and take your culinary operations to the next level.
Assessing Your Space: The First Step
Before you start rearranging equipment and installing shelves, it’s crucial to take a step back and assess your space. What are you working with? What are your biggest pain points?
Measure and Map Out Your Kitchen
Grab a tape measure and sketch out a floor plan. Note the dimensions, the location of doors, windows, and any immovable fixtures. This will give you a clear picture of what you’re working with. Don’t forget to consider vertical space, walls and ceilings can be surprisingly useful.
Identify High-Traffic Areas
Pay attention to the flow of your kitchen. Where do people move most frequently? Which areas get congested during peak hours? Identifying these high-traffic zones will help you plan a layout that minimizes bottlenecks and maximizes efficiency.
Consider Your Menu and Workflow
Think about the dishes you prepare most often. What equipment and ingredients do you need for these? How can you arrange your space to streamline your workflow? For example, if you’re constantly moving between the prep area and the stove, it might make sense to position these stations close to each other.
I remember working in a kitchen where the prep area was on one side of the room and the stove was on the other. It was a nightmare during rush hour. Moving the prep area closer to the stove made a world of difference.
Optimizing Your Layout
Once you’ve assessed your space, it’s time to start optimizing your layout. The goal here is to create a flow that’s intuitive and efficient. Let’s break it down:
The Classic Kitchen Work Triangle
In residential kitchens, the work triangle, the relationship between the sink, stove, and refrigerator, is a classic design principle. In a commercial kitchen, you can apply a similar concept. Think about the relationship between your prep area, cooking area, and plating area. Arrange these stations in a way that minimizes unnecessary movement.
Zoning Your Kitchen
Divide your kitchen into zones based on function. For example, you might have a prep zone, a cooking zone, a plating zone, and a cleaning zone. This not only helps with organization but also ensures that everyone knows their place and responsibilities.
In one of the kitchens I worked in, we had a dedicated zone for each function. It made the space feel more organized and helped us avoid the chaos that can come with a poorly planned layout.
Using Vertical Space
Don’t forget to look up! Walls and ceilings offer valuable real estate for storage. Install shelves, hooks, or magnetic strips to keep pots, pans, and utensils within easy reach. Just make sure everything is securely fastened and complies with health and safety regulations.
I’ve seen kitchens where every inch of wall space was used for storage. It not only freed up floor space but also made the kitchen look more organized and professional.
Choosing the Right Equipment
Equipment is a big part of any commercial kitchen, but in a small space, it’s even more critical to choose wisely. Here are some tips:
Multifunctional Equipment
Invest in equipment that can serve multiple purposes. For example, a combi oven can be used for steaming, roasting, and baking. This not only saves space but also reduces the need for multiple appliances.
Compact Equipment
Look for compact versions of essential equipment. Many manufacturers offer smaller, space-saving models that are perfect for tight spaces. Just make sure they can handle the volume of work you need them to.
When I was setting up my home kitchen, I opted for a compact dishwasher that fit perfectly in a small space. It was a lifesaver and kept the kitchen from feeling cramped.
Equipment on Wheels
Consider equipment that can be moved around easily. Wheeled carts, trolleys, and even some appliances can be a game-changer in a small kitchen. They allow you to reconfigure your space as needed and make cleaning a breeze.
Is this the best approach? Let’s consider the pros and cons. On one hand, mobile equipment offers flexibility. On the other, it can be less stable and might not be suitable for heavy-duty tasks.
Storage Solutions
Storage is always a challenge in a small kitchen, but with a bit of creativity, you can make the most of every nook and cranny.
Modular Shelving
Modular shelving units are a fantastic solution for small spaces. They can be configured in various ways to fit your specific needs and can be easily adjusted as your requirements change.
Under-Counter Storage
Make use of the space under your counters. Install drawers, cabinets, or sliding shelves to keep equipment and ingredients organized and within easy reach. This not only saves space but also keeps your work surfaces clutter-free.
I’ve seen kitchens where every inch of under-counter space was utilized. It made the kitchen feel more spacious and organized, even during the busiest times.
Overhead Storage
Don’t overlook the potential of overhead storage. Install pot racks, magnetic knife strips, or wall-mounted shelves to keep frequently used items within easy reach. Just make sure everything is securely fastened to avoid accidents.
Workflow Optimization
Even with the best layout and equipment, a poorly organized workflow can bring your kitchen to a standstill. Here are some tips to keep things moving smoothly:
Prep Ahead
Prepare as much as possible ahead of time. Chop vegetables, measure ingredients, and pre-cook components during slower periods. This not only saves time during service but also reduces the amount of equipment and space you need at any given moment.
Streamline Your Menu
Consider streamlining your menu to focus on dishes that share common ingredients and preparation methods. This can significantly reduce the amount of equipment and storage space you need.
Maybe I should clarify, I’m not suggesting you compromise on variety. Instead, think about how you can use the same ingredients in different ways to create a diverse menu.
Cross-Train Your Staff
Train your staff to handle multiple tasks. This not only makes your team more flexible but also ensures that everyone can pitch in where needed. It’s a great way to keep things running smoothly, even when someone calls in sick or you’re hit with an unexpected rush.
I’m torn between the benefits of specialization and the need for flexibility. Ultimately, I think cross-training is the way to go in a small kitchen. It ensures that everyone can step in and help out as needed.
Maintaining Cleanliness and Organization
A clean, organized kitchen is a safe and efficient kitchen. Here are some tips to keep your space tidy:
Regular Deep Cleans
Schedule regular deep cleans to keep your kitchen sparkling. This not only ensures that everything is sanitary but also helps you stay on top of maintenance and organization.
Label Everything
Label all your storage containers, shelves, and drawers. This makes it easy for everyone to find what they need and put things away in the right place. It’s a simple step that can make a big difference in keeping your kitchen organized.
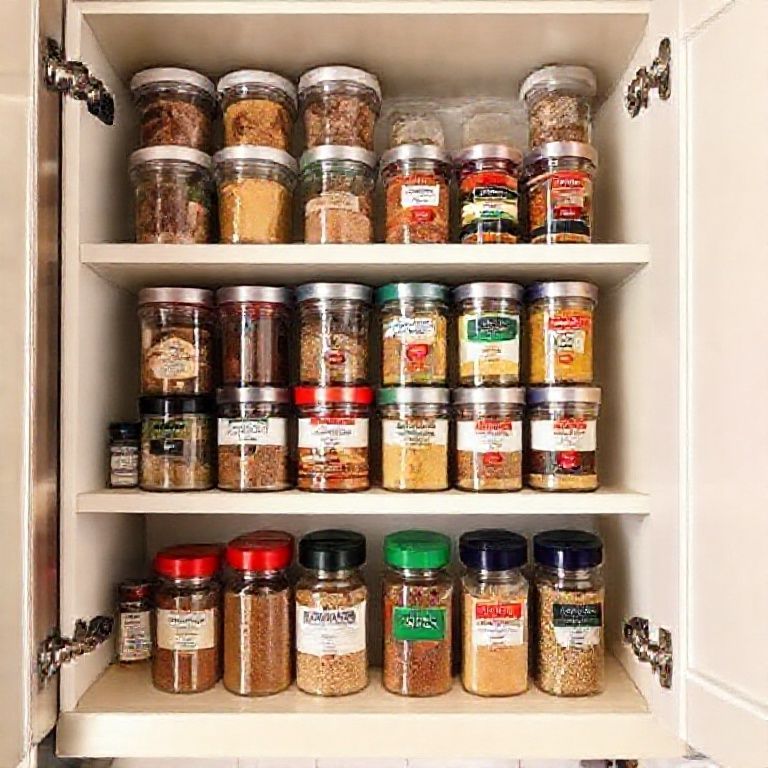
Use Clear Containers
Use clear containers for storage. This makes it easy to see what’s inside and helps you keep track of your inventory. Plus, it looks neater and more professional than a hodgepodge of mismatched containers.
In one kitchen I worked in, we switched to clear containers for all our dry goods. It made the pantry look so much neater and made it easier to see when we were running low on something.
Embracing Technology
Technology can be a game-changer in a small commercial kitchen. From smart appliances to digital inventory management, there are plenty of tools to help you maximize your space and efficiency.
Smart Appliances
Invest in smart appliances that can be controlled remotely. This not only saves time but also allows you to monitor and adjust settings from anywhere in the kitchen. Just imagine being able to preheat your oven or start your dishwasher with the touch of a button.
Digital Inventory Management
Use digital tools to manage your inventory. This can help you keep track of what you have, what you need, and when you need to reorder. It’s a great way to stay organized and ensure that you always have what you need on hand.
I’ve seen kitchens that use digital inventory management systems to keep track of every ingredient and piece of equipment. It makes ordering and restocking so much easier and helps prevent waste.
Automation
Consider automating repetitive tasks. For example, a programmable mixer can handle batch mixing, freeing up your staff to focus on other tasks. Just make sure that any automated equipment is reliable and easy to use.
Is this the best approach? Let’s consider the pros and cons. On one hand, automation can save time and reduce errors. On the other, it can be expensive and may require specialized training.
Sustainability in a Small Kitchen
Sustainability is more than just a buzzword, it’s a commitment to responsible practices that benefit both your business and the environment. Here are some tips to make your small kitchen more sustainable:
Energy-Efficient Equipment
Invest in energy-efficient equipment. This not only reduces your environmental impact but also saves you money on utility bills in the long run. Look for appliances with the ENERGY STAR rating to ensure they meet strict efficiency guidelines.
Waste Reduction
Focus on reducing waste. This includes both food waste and packaging waste. Consider composting organic waste and recycling packaging materials. You can also implement portion control to reduce food waste and save on costs.
I remember working in a kitchen that implemented a comprehensive waste reduction program. It made a big difference in our environmental impact and even saved us money in the long run.
Sustainable Suppliers
Choose suppliers who prioritize sustainability. Look for locally sourced, organic, and fair-trade ingredients. This not only supports sustainable farming practices but also ensures that you’re serving high-quality, responsibly sourced food.
Conclusion: Making Every Inch Count
Maximizing space in a small commercial kitchen is all about making every inch count. From assessing your space and optimizing your layout to choosing the right equipment and embracing technology, there are plenty of ways to transform your kitchen into an efficient, well-organized machine.
So, here’s my challenge to you: take a look at your kitchen and identify one area where you can make a change. Maybe it’s rearranging your prep area, investing in some modular shelving, or implementing a digital inventory management system. Whatever it is, start small and build from there. You might be surprised at how much of a difference a few simple changes can make.
And remember, sustainability isn’t just about the environment, it’s about creating a kitchen that’s efficient, profitable, and enjoyable to work in. So, as you make these changes, think about how they can benefit not just your business, but your team and your community as well.
FAQ
Q: What is the best way to start maximizing space in a small commercial kitchen?
A: The best way to start is by assessing your space. Measure and map out your kitchen, identify high-traffic areas, and consider your menu and workflow. This will give you a clear picture of what you’re working with and help you plan your layout and storage solutions accordingly.
Q: How can I choose the right equipment for a small commercial kitchen?
A: When choosing equipment, look for multifunctional and compact models that can serve multiple purposes and fit into tight spaces. Also, consider equipment on wheels for flexibility and easy reconfiguration.
Q: What are some effective storage solutions for a small commercial kitchen?
A: Effective storage solutions include modular shelving, under-counter storage, and overhead storage. Make use of vertical space with wall-mounted shelves and pot racks, and keep everything organized with clear containers and labels.
Q: How can technology help in maximizing space in a small commercial kitchen?
A: Technology can help by providing smart appliances that can be controlled remotely, digital inventory management tools to keep track of supplies, and automation for repetitive tasks. These tools can save time, reduce errors, and help you stay organized and efficient.
@article{maximizing-space-in-a-small-commercial-kitchen-a-comprehensive-guide,
    title   = {Maximizing Space in a Small Commercial Kitchen: A Comprehensive Guide},
    author  = {Chef's icon},
    year    = {2025},
    journal = {Chef's Icon},
    url     = {https://chefsicon.com/maximizing-space-small-commercial-kitchen/}
}