
Table of Contents
- 1 Drying Herbs and Fruits: Simple Dehydration Techniques
- 1.1 Understanding Dehydration: The Basics
- 1.2 Choosing the Right Produce
- 1.3 Air Drying: The Simplest Method
- 1.4 Oven Drying: A Faster Alternative
- 1.5 Dehydrator Drying: Precision and Control
- 1.6 Solar Drying: Harnessing the Sun’s Power
- 1.7 Storing Dried Herbs and Fruits
- 1.8 Using Dried Herbs and Fruits
- 1.9 Troubleshooting Common Issues
- 1.10 Embracing the Art of Dehydration
- 1.11 FAQ
Drying Herbs and Fruits: Simple Dehydration Techniques
Ever found yourself with an abundance of fresh herbs and fruits, wondering how to preserve their vibrant flavors and nutrients for later use? Welcome to the world of dehydration—a simple, age-old technique that’s seen a resurgence in popularity, and for good reason. Whether you’re a seasoned gardener, a culinary enthusiast, or just someone looking to reduce food waste, drying herbs and fruits is a fantastic way to extend their shelf life and savor them year-round.
Growing up in the Bay Area, I was always surrounded by fresh produce. But it was only after moving to Nashville and embracing its rich culinary scene that I truly appreciated the art of preservation. My rescue cat, Luna, often watches me from the kitchen counter as I experiment with different dehydration methods. It’s a journey of trial and error, but the rewards are oh-so-satisfying.
In this guide, we’ll dive deep into the world of dehydration. From understanding the basics to exploring different techniques, we’ll cover everything you need to know to get started. By the end, you’ll be equipped with the knowledge and confidence to dry your own herbs and fruits like a pro.
Understanding Dehydration: The Basics
Dehydration is the process of removing moisture from food to inhibit the growth of bacteria and mold, thereby extending its shelf life. It’s a simple concept, but the science behind it is fascinating. By reducing the water content, we create an environment where microorganisms can’t thrive, preserving the food’s flavor, color, and nutrients.
But why bother with dehydration when you can just freeze or can your produce? Great question. Dehydration offers several advantages:
- Space efficiency: Dried foods take up much less space than their fresh or frozen counterparts.
- Nutrient retention: Dehydration preserves more of the food’s natural enzymes and nutrients compared to other preservation methods.
- Versatility: Dried herbs and fruits can be used in a variety of recipes, from teas and spice blends to baked goods and trail mix.
Choosing the Right Produce
Before we dive into the techniques, let’s talk about selecting the right produce. The quality of your dried herbs and fruits largely depends on the freshness and condition of the raw materials. Here are some tips to keep in mind:
- Pick at peak ripeness: For fruits, this ensures the best flavor and nutrient content. For herbs, harvest them just before they flower for optimal potency.
- Avoid blemished or bruised produce: These areas can harbor mold and bacteria, which can spoil your entire batch.
- Wash thoroughly: Make sure to clean your produce to remove any dirt, pesticides, or residue. Pat them dry gently to remove excess moisture.
Air Drying: The Simplest Method
Air drying is the most straightforward and low-tech method of dehydration. It’s perfect for herbs and thin-skinned fruits like berries and grapes. All you need is a well-ventilated area, some string or twine, and a bit of patience.
Here’s how to do it:
- Bundle your herbs or string your fruits together in small bunches.
- Hang them upside down in a dry, well-ventilated area, away from direct sunlight.
- Allow them to dry for 1-2 weeks, depending on the humidity and temperature.
- Check them regularly for any signs of mold or spoilage.
Is this the best approach? Let’s consider the pros and cons. Air drying is incredibly simple and requires no special equipment. However, it can be time-consuming, and the results can vary based on environmental factors. Maybe I should clarify that it’s best suited for low-humidity climates and well-ventilated spaces.
Oven Drying: A Faster Alternative
If you’re short on time or live in a humid climate, oven drying might be a better option. This method uses low heat to speed up the dehydration process, making it ideal for fruits and herbs that need a quick turnaround.
Here’s how to do it:
- Preheat your oven to its lowest setting, usually around 170°F (75°C).
- Spread your produce evenly on a baking sheet lined with parchment paper.
- Place the sheet in the oven, leaving the door slightly ajar to allow moisture to escape.
- Check your produce every 30 minutes, turning them occasionally to ensure even drying.
- The total drying time will vary depending on the type and size of the produce, so keep an eye on them.
I’m torn between the convenience of oven drying and the natural appeal of air drying. But ultimately, I think oven drying is a great backup plan when time or climate isn’t on your side.
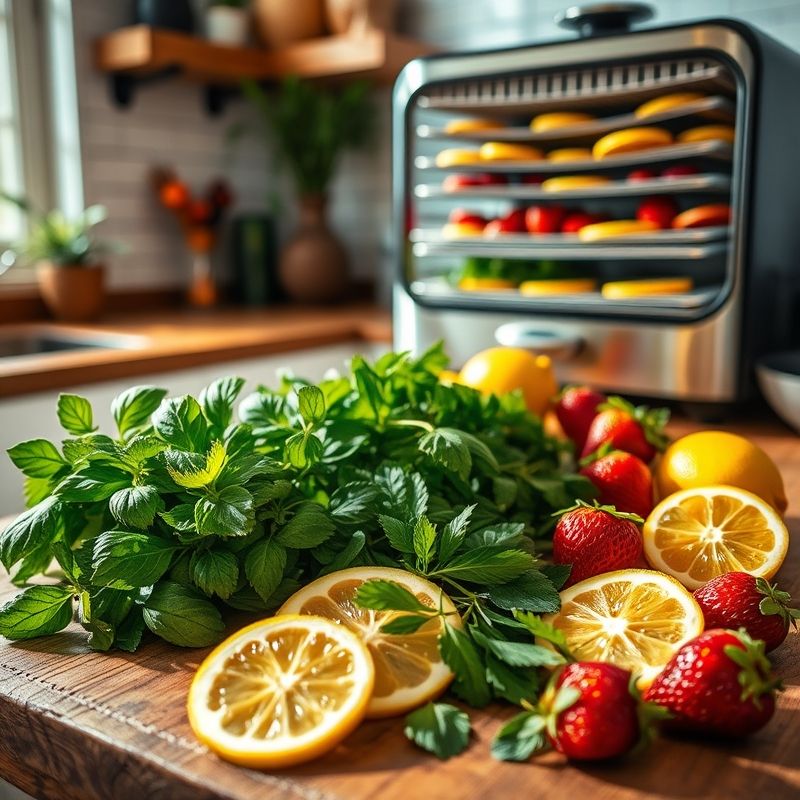
Dehydrator Drying: Precision and Control
For those looking for more control and consistency, a dehydrator is a worthwhile investment. These handy appliances allow you to set precise temperatures and timers, ensuring perfectly dried produce every time.
Here’s how to use a dehydrator:
- Prepare your produce by washing, slicing (if necessary), and patting dry.
- Arrange them evenly on the dehydrator trays, ensuring they don’t overlap.
- Set the temperature and timer according to the manufacturer’s instructions.
- Check your produce periodically to ensure they’re drying evenly.
Dehydrators come in various sizes and price points, so you can find one that fits your needs and budget. They’re especially useful for drying larger quantities of produce or for those who want to explore more advanced dehydration techniques, like making fruit leathers or jerky.
Solar Drying: Harnessing the Sun’s Power
If you’re feeling adventurous and eco-conscious, solar drying might be right up your alley. This method uses the sun’s heat and natural airflow to dehydrate your produce, making it an environmentally friendly option.
Here’s how to set up a simple solar dehydrator:
- Create a box-like structure with a clear plastic or glass top to trap heat.
- Line the bottom with a dark material to absorb heat.
- Place your produce on trays inside the box, ensuring good airflow.
- Cover the box with the clear top and let the sun do its work.
Solar drying is a fun DIY project that can yield delicious results. However, it’s heavily dependent on weather conditions, so it might not be the most reliable method for consistent dehydration.
Storing Dried Herbs and Fruits
Once your herbs and fruits are perfectly dried, it’s crucial to store them properly to maintain their quality and freshness. Here are some storage tips:
- Use airtight containers: Glass jars or plastic containers with tight-fitting lids are ideal.
- Keep them in a cool, dark place: Light and heat can degrade the flavor and nutrients of your dried produce.
- Label and date your containers: This helps you keep track of what you have and ensures you use the oldest items first.
Proper storage can extend the shelf life of your dried herbs and fruits for months, sometimes even years. Just remember to check them periodically for any signs of spoilage or loss of flavor.
Using Dried Herbs and Fruits
Now that you’ve mastered the art of dehydration, it’s time to put your dried herbs and fruits to good use. Here are some creative ways to incorporate them into your culinary adventures:
- Herbal teas: Mix and match your dried herbs to create custom tea blends.
- Spice rubs: Combine dried herbs with other spices to create flavorful rubs for meats and vegetables.
- Baked goods: Add dried fruits to your favorite bread, muffin, or cookie recipes for a burst of flavor.
- Trail mix: Mix dried fruits with nuts and seeds for a portable, energy-packed snack.
The possibilities are endless, so don’t be afraid to experiment and find what works best for you.
Troubleshooting Common Issues
Dehydration is a fairly straightforward process, but things can go awry. Here are some common issues and how to troubleshoot them:
- Mold growth: This usually indicates too much moisture or insufficient airflow. Make sure your produce is thoroughly dry before storing, and use containers that allow for some air circulation.
- Uneven drying: If some pieces are drying faster than others, rotate your trays or adjust the temperature. Consistent checking and turning can help ensure even drying.
- Loss of flavor: Over-drying can cause your produce to lose its flavor. Experiment with different drying times and temperatures to find the sweet spot.
Embracing the Art of Dehydration
Drying herbs and fruits is more than just a preservation technique—it’s an art form that connects us to our food and the natural world. As you embark on your dehydration journey, remember to enjoy the process as much as the results. Experiment with different methods, try new combinations, and most importantly, have fun!
So, are you ready to give dehydration a try? I challenge you to start with a small batch of your favorite herb or fruit and see where it takes you. You might just discover a new passion and a deeper appreciation for the simple pleasures of preserved food.
FAQ
Q: How long does it take to dehydrate herbs and fruits?
A: The time it takes to dehydrate herbs and fruits can vary widely depending on the method, the type of produce, and environmental factors. Air drying can take 1-2 weeks, while oven drying or using a dehydrator can take anywhere from a few hours to a couple of days.
Q: Can I dehydrate any type of fruit?
A: While many fruits are suitable for dehydration, some are better than others. Berries, apples, bananas, and stone fruits like peaches and plums are great candidates. Fruits with high water content, like watermelon or citrus, may not dehydrate as well.
Q: How do I know when my herbs and fruits are fully dried?
A: Herbs are fully dried when they crumble easily between your fingers. Fruits should be leathery and slightly pliable, but not sticky or moist. Always err on the side of over-drying to prevent mold growth.
Q: Can I rehydrate dried fruits and herbs?
A: Yes, you can rehydrate dried fruits and herbs by soaking them in water for a few minutes to a few hours, depending on the type and thickness. This can be useful for recipes that call for fresh produce, but keep in mind that the texture and flavor may differ slightly from their fresh counterparts.
@article{drying-herbs-and-fruits-simple-dehydration-techniques,
    title   = {Drying Herbs and Fruits: Simple Dehydration Techniques},
    author  = {Chef's icon},
    year    = {2025},
    journal = {Chef's Icon},
    url     = {https://chefsicon.com/drying-herbs-and-fruits-simple-dehydration-techniques/}
} 
