The Best Fluffy Pancakes recipe you will fall in love with. Full of tips and tricks to help you make the best pancakes.
Table of Contents
There’s nothing quite like a perfectly cooked chicken breast, juicy, tender, and bursting with flavor. But let’s face it, achieving that ideal texture and taste can be a bit of a challenge. I’ve been there, standing in my Nashville kitchen with Luna, my rescue cat, watching me with judgmental eyes as I wrestle with yet another dry, overcooked chicken breast. But fear not, my fellow food enthusiasts. After relocating from the Bay Area and embracing Nashville’s vibrant culinary scene, I’ve gathered some game-changing tips to help you nail that juicy chicken breast every time. So, let’s dive in and explore the art of cooking the perfect chicken breast.
In this article, we’ll cover everything from brining to marinating, from cooking techniques to resting your chicken. Whether you’re a seasoned chef or a novice in the kitchen, these tips will elevate your chicken breast game to new heights. So, grab your apron and let’s get started!
Understanding Chicken Breast
The Anatomy of a Chicken Breast
Before we dive into the cooking techniques, it’s essential to understand the anatomy of a chicken breast. Chicken breasts are lean, which means they have very little fat. This lack of fat makes them prone to drying out if not cooked properly. The key to a juicy chicken breast lies in retaining its natural moisture and enhancing it with the right techniques.
Choosing the Right Chicken Breast
Not all chicken breasts are created equal. When selecting your chicken, opt for organic, free-range options if possible. These chickens tend to have a better flavor and texture. Additionally, look for breasts that are uniform in size and thickness. This will ensure even cooking and prevent one part from drying out while the other is still raw.
Is this the best approach? Let’s consider the alternatives. Some might argue that conventional chicken breasts are just as good, but ultimately, the quality of the chicken can significantly impact the final result. Maybe I should clarify that while organic and free-range are ideal, conventional chicken can still yield great results with the right techniques.
Preparation Techniques
Brining: The Secret Weapon
Brining is a game-changer when it comes to cooking juicy chicken breasts. Brining involves soaking the chicken in a saltwater solution, which helps to break down the proteins and allows the chicken to absorb more moisture. This results in a plumper, juicier breast. Here’s a simple brine recipe to get you started:
- 4 cups of water
- 1/4 cup of salt
- 2 tablespoons of sugar (optional, but it adds a nice balance)
- Your choice of herbs and spices (e.g., garlic, peppercorns, bay leaves)
Mix all the ingredients together until the salt and sugar are fully dissolved. Submerge the chicken breasts in the brine and refrigerate for at least 30 minutes, or up to 4 hours. Rinse the chicken thoroughly and pat it dry before cooking.
Marinating for Flavor
Marinating is another excellent way to infuse your chicken with flavor and moisture. Unlike brining, marinating involves soaking the chicken in a mixture of acid (like lemon juice or vinegar), oil, and herbs. The acid helps to tenderize the meat, while the oil and herbs add flavor. Here’s a simple marinade recipe:
- 1/4 cup of olive oil
- 1/4 cup of lemon juice
- 2 cloves of garlic, minced
- 1 teaspoon of dried oregano
- Salt and pepper to taste
Combine all the ingredients in a bowl and whisk until well combined. Place the chicken breasts in a zip-top bag, pour the marinade over the chicken, and seal the bag. Refrigerate for at least 30 minutes, or up to 24 hours. The longer you marinate, the more flavorful the chicken will be.
Pounding for Even Cooking
One of the challenges with chicken breasts is their uneven thickness. The thicker parts take longer to cook, which can lead to the thinner parts drying out. To combat this, you can pound the chicken breasts to an even thickness. Place the chicken between two sheets of plastic wrap and use a meat mallet to pound it until it’s uniformly thick. This will ensure even cooking and a more tender texture.
Seasoning Like a Pro
Seasoning is where you can really let your creativity shine. Whether you prefer a simple salt and pepper rub or a more complex blend of herbs and spices, the key is to season generously. Don’t be afraid to experiment with different flavors, garlic powder, paprika, cumin, and chili powder are all great options. Remember, the seasoning should enhance the natural flavor of the chicken, not overpower it.
I’m torn between recommending a specific seasoning blend and encouraging experimentation. But ultimately, the best approach is to start with a basic blend and adjust it to your taste. Maybe I should clarify that there’s no one-size-fits-all seasoning, and the fun lies in finding what works best for you.
Cooking Techniques
Pan-Searing for a Crispy Crust
Pan-searing is a fantastic method for achieving a crispy crust while keeping the inside juicy. Start by heating a skillet over medium-high heat. Add a small amount of oil, just enough to coat the bottom of the pan. Once the oil is hot, add the chicken breasts and cook for about 5-7 minutes on each side, or until the internal temperature reaches 165°F (74°C). Be sure to use a meat thermometer to ensure the chicken is cooked through.
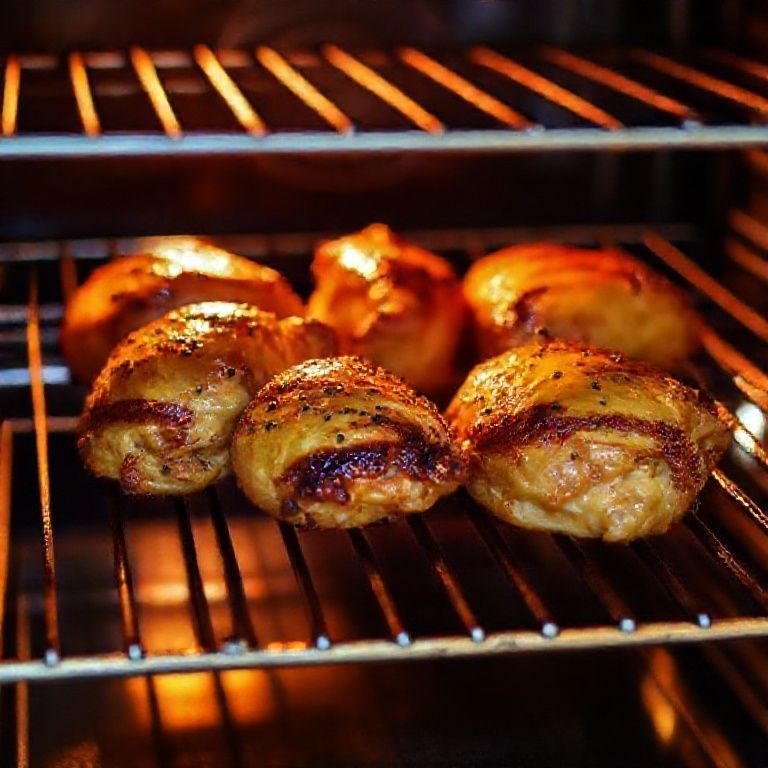
Baking for Hands-Off Cooking
Baking is a convenient, hands-off method for cooking chicken breasts. Preheat your oven to 400°F (200°C). Place the chicken breasts in a baking dish and drizzle with a little oil. Bake for about 20-25 minutes, or until the internal temperature reaches 165°F (74°C). For added flavor, you can top the chicken with slices of lemon, garlic, and herbs before baking.
Grilling for Smoky Flavor
Grilling adds a smoky flavor that’s hard to beat. Preheat your grill to medium-high heat. Oil the grates to prevent the chicken from sticking. Grill the chicken breasts for about 6-7 minutes on each side, or until the internal temperature reaches 165°F (74°C). For even cooking, consider using a grill pan or placing a weight on top of the chicken to ensure good contact with the grates.
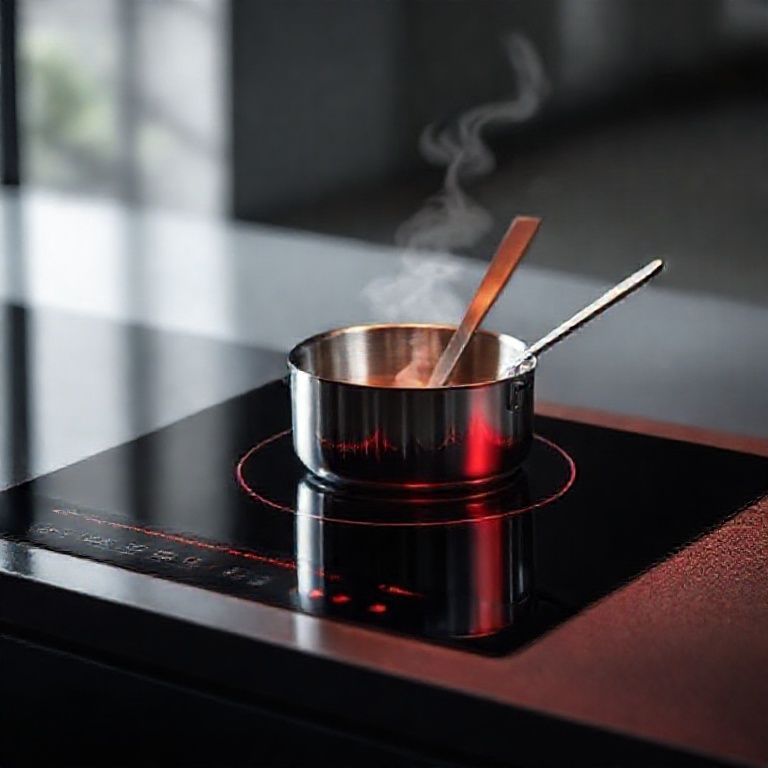
Poaching for Tender Results
Poaching is a gentle cooking method that results in tender, moist chicken. Bring a pot of water to a simmer and add aromatics like onions, garlic, and herbs. Add the chicken breasts and simmer for about 15-20 minutes, or until the internal temperature reaches 165°F (74°C). This method is great for chicken that will be used in salads, soups, or sandwiches.
Sous Vide for Precision Cooking
Sous vide is a modern cooking technique that involves vacuum-sealing the chicken and cooking it in a water bath at a precise temperature. This method ensures even cooking and retains maximum moisture. Set your sous vide machine to 145°F (63°C) and cook the chicken for about 1-2 hours. Finish by searing the chicken in a hot pan for a crispy crust.
Finishing Touches
Resting the Chicken
Resting the chicken is a crucial step that’s often overlooked. After cooking, let the chicken rest for about 5-10 minutes before slicing. This allows the juices to redistribute throughout the meat, resulting in a juicier, more flavorful chicken breast. If you slice it too soon, the juices will run out, leaving you with a dry piece of meat.
Slicing Against the Grain
Slicing against the grain is another important technique. The grain refers to the direction of the muscle fibers in the chicken. By slicing against the grain, you shorten these fibers, making the chicken more tender and easier to chew. This is especially important for chicken breasts, which can be tough if not sliced properly.
Common Mistakes to Avoid
Overcooking
Overcooking is the number one enemy of juicy chicken breasts. Use a meat thermometer to ensure the chicken reaches an internal temperature of 165°F (74°C), but no higher. Remember, the chicken will continue to cook slightly after you remove it from the heat, so it’s okay to take it off a degree or two early.
Not Preheating the Pan or Grill
Preheating your pan or grill is essential for achieving a good sear. A hot pan helps to create a crispy crust and locks in the juices. If the pan isn’t hot enough, the chicken will stick and may not cook evenly.
Crowding the Pan
Crowding the pan can lead to steaming rather than searing. Make sure there’s enough space between the chicken breasts to allow for even cooking and a nice sear. If necessary, cook the chicken in batches to avoid overcrowding.
Using Too Much Oil
Using too much oil can lead to a soggy crust and uneven cooking. Aim for a thin layer of oil, just enough to coat the bottom of the pan. This will help to create a crispy crust without making the chicken greasy.
Wrapping Up: Your Path to Perfect Chicken Breasts
Cooking the perfect juicy chicken breast is an art that requires practice and patience. By understanding the anatomy of a chicken breast, using the right preparation techniques, and mastering various cooking methods, you can achieve restaurant-quality results at home. Don’t be afraid to experiment with different seasonings and techniques to find what works best for you.
So, here’s your challenge: try out these tips and see how they transform your chicken breast game. Whether you’re grilling, baking, or pan-searing, remember that the key to success lies in the details. And who knows? Maybe one day, you’ll be the one sharing your secrets with the world.
FAQ
Q: How long should I brine chicken breasts?
A: Brine chicken breasts for at least 30 minutes, or up to 4 hours for optimal results. Longer brining times can make the chicken too salty.
Q: Can I marinate chicken breasts overnight?
A: Yes, you can marinate chicken breasts overnight. The longer you marinate, the more flavorful the chicken will be. Just make sure to keep it refrigerated.
Q: What’s the best way to check if chicken is cooked?
A: The best way to check if chicken is cooked is to use a meat thermometer. Insert it into the thickest part of the breast and ensure it reaches an internal temperature of 165°F (74°C).
Q: Can I freeze marinated chicken breasts?
A: Yes, you can freeze marinated chicken breasts. Place them in a freezer-safe container or bag and freeze for up to 3 months. Thaw in the refrigerator before cooking.
@article{mastering-juicy-chicken-breast-tips-and-tricks-for-perfect-results,
    title   = {Mastering Juicy Chicken Breast: Tips and Tricks for Perfect Results},
    author  = {Chef's icon},
    year    = {2025},
    journal = {Chef's Icon},
    url     = {https://chefsicon.com/juicy-chicken-breast-cooking-tips/}
}